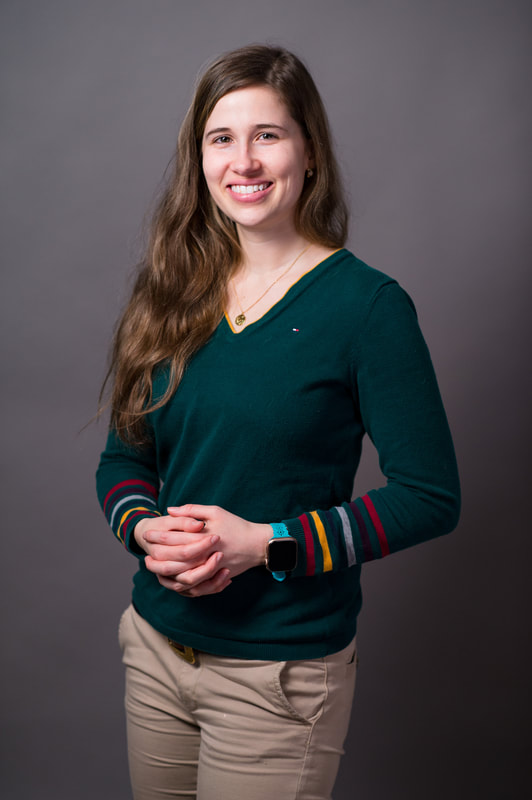
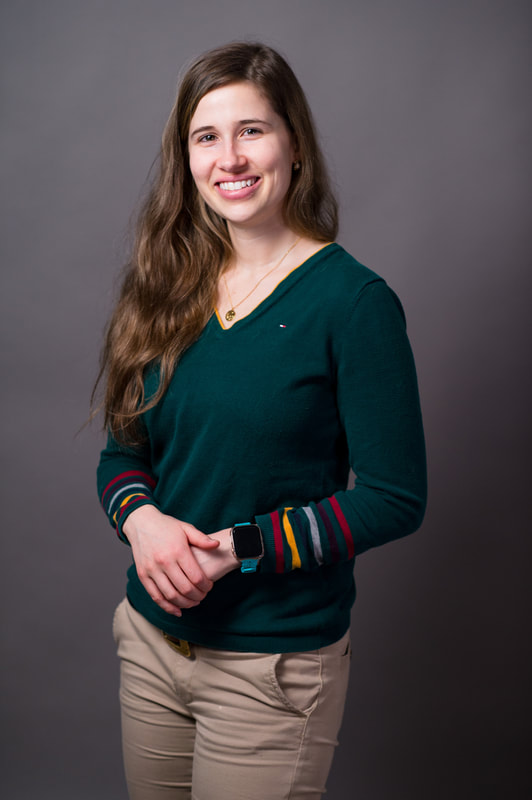
|
In this guide you're going to learn how to take CONTROL of how you look on camera. It's time to stop looking and feeling awkward when having pictures taken!
Here's what we'll cover in this "How to Pose for Photos" guide:
This guide is written for both women and men (even though the pictures only have a woman model). Scroll down to get started! How to Pose for Photos
|
|
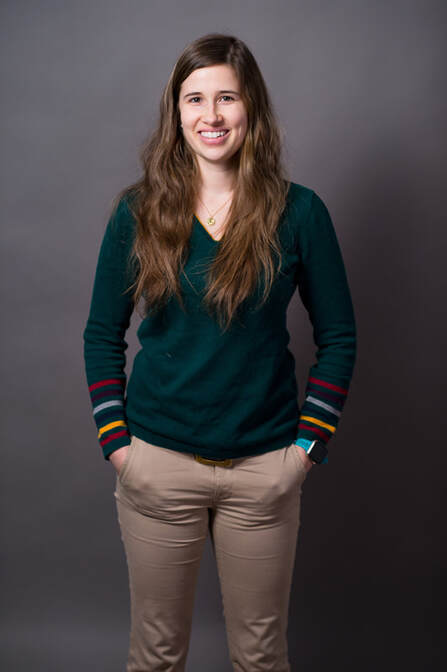
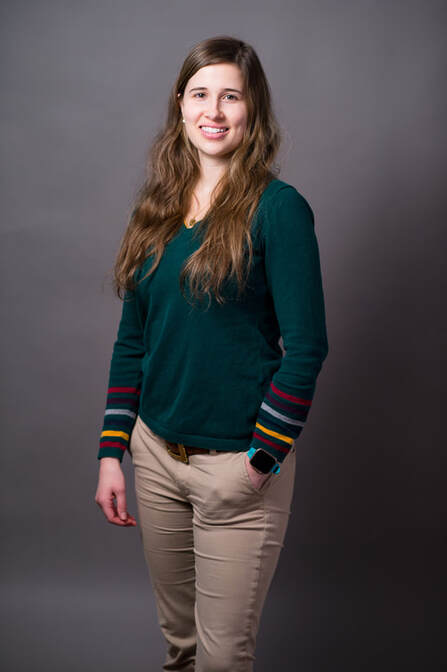
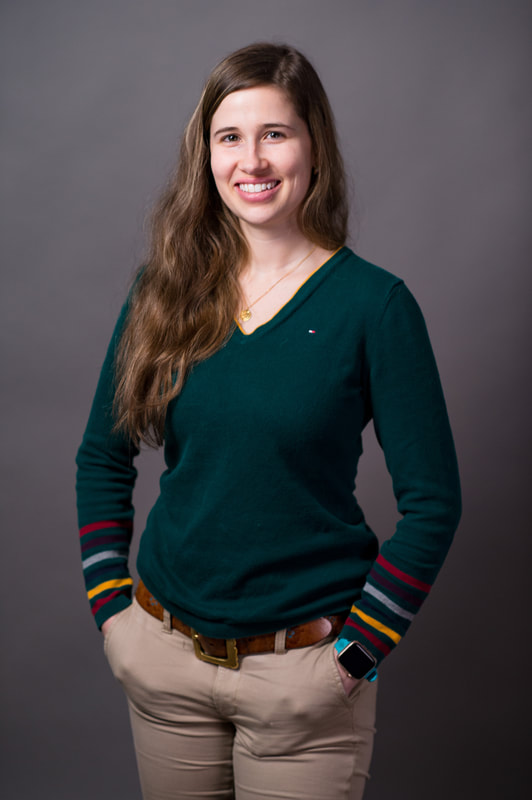
Why it's not so good:
Having the weight planted evenly between both feet makes the body look a bit flat and wider than it is. This pose can usually work OK for men but it's not often recommended for women. |
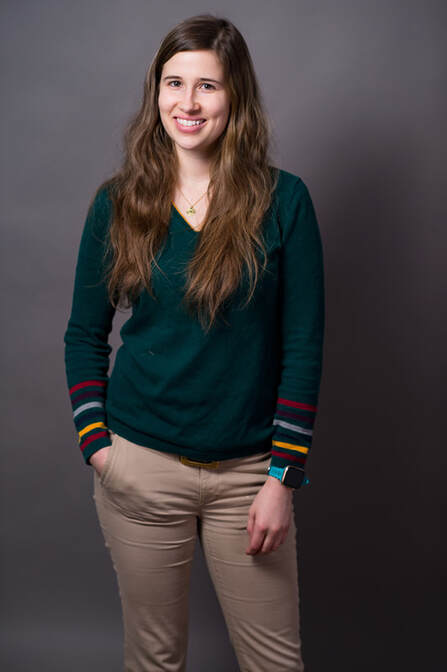
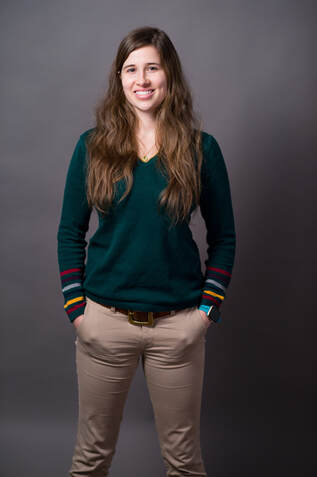
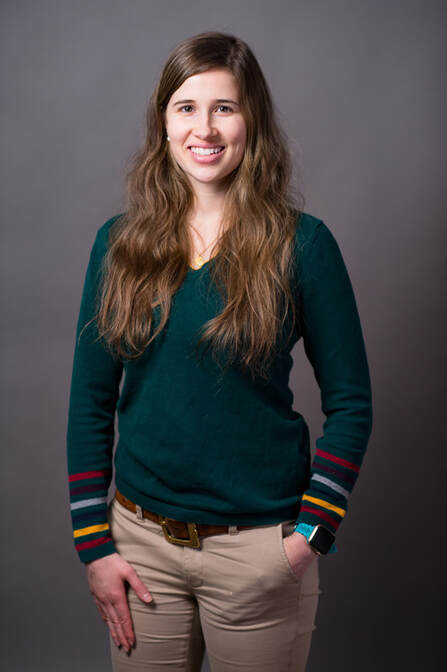
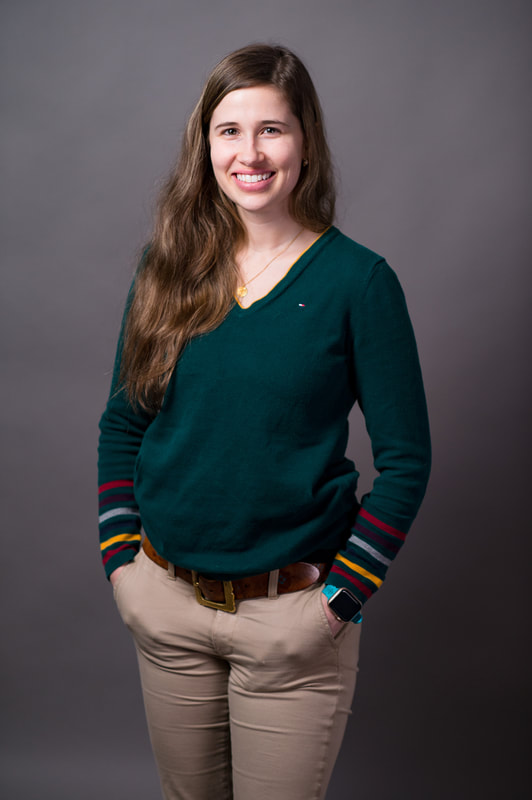
Why it's good:
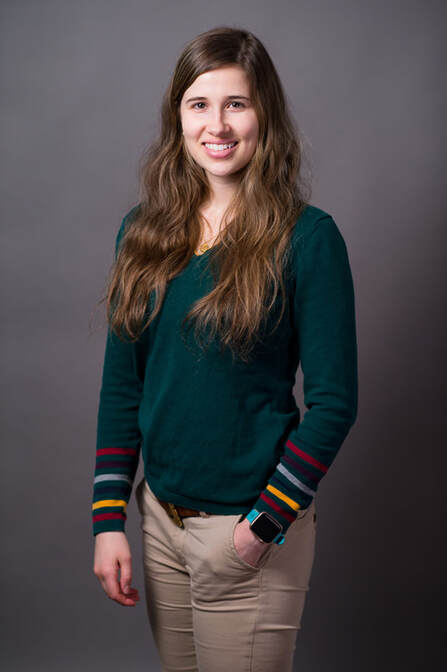
With the weight planted on one foot, a bit more energy/flow comes from the pose. Additionally, having only one hand in the pocket makes her feel more casual/open. |
|
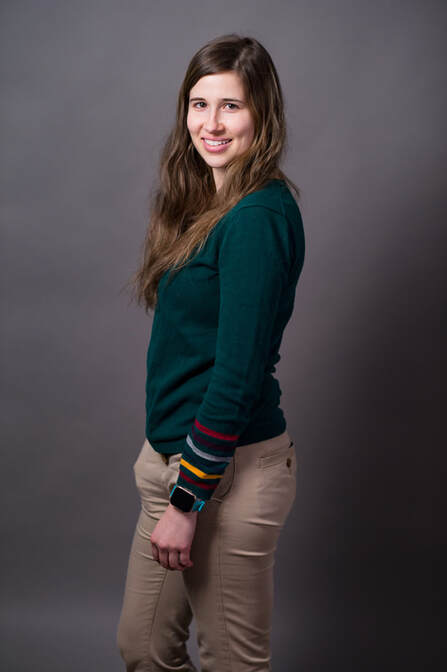
Why it's not so good:
Leaning the body weight on the front leg makes her appear shorter and wider than she is. Plus, turning too far to the side necessitates pulling the shirt tighter around her waist (so she doesn't look too wide), which wasn't done in this photo. |
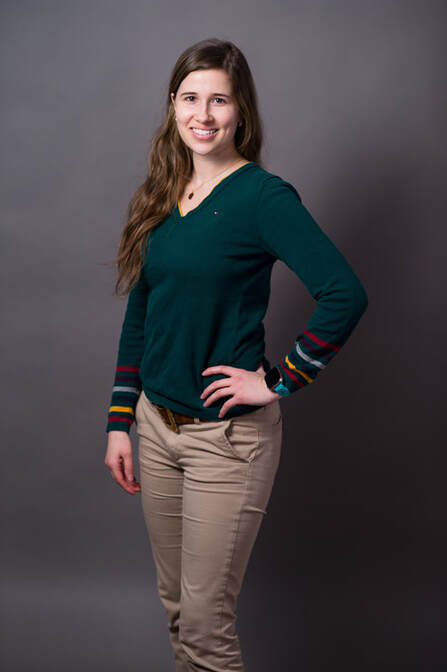
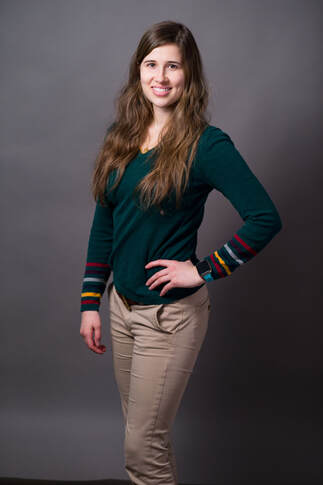
Why it's good:
Leaning the weight on the back leg slims the body. Additionally, the hand on the hip slims the body as well, creating more shape between her arm and body. |
Great Poses That Work Well
These poses work well for all types of shots, from close-in headshots to further out full-body shots.
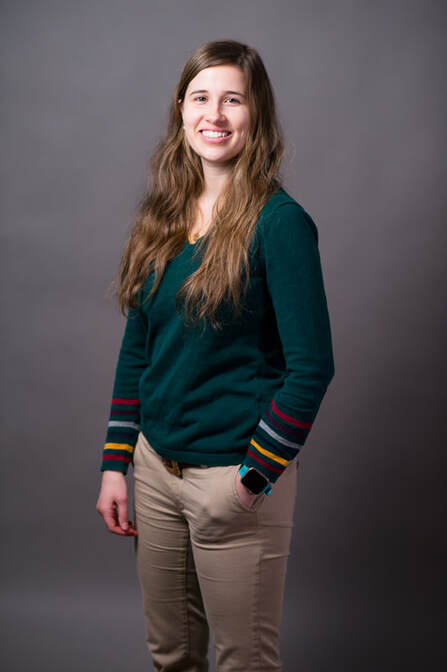
Pose #1: (Men or Women):
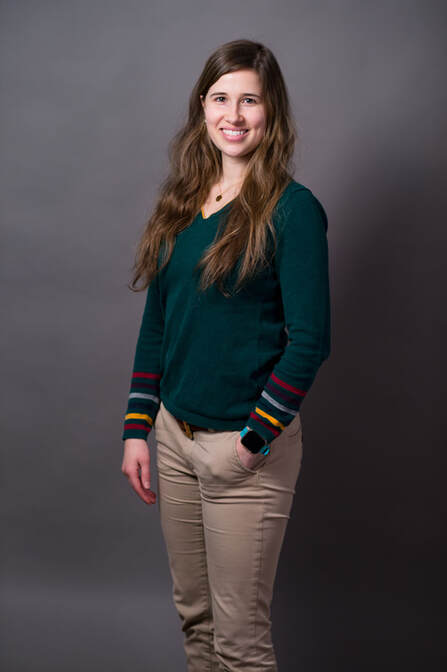
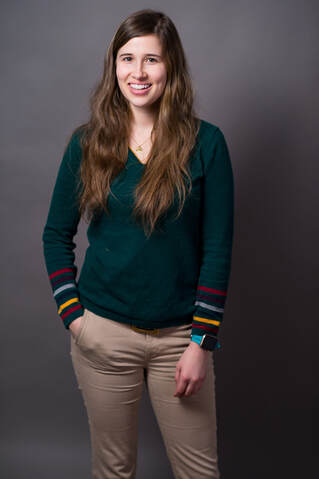
Turned slightly left or right, body weight on the back leg, one hand in the pocket or thumb through pants waist or belt:
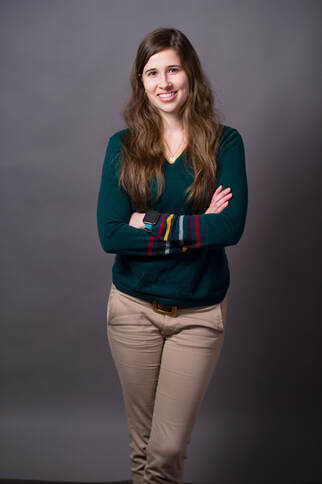
Pose #2: (Men or Women):
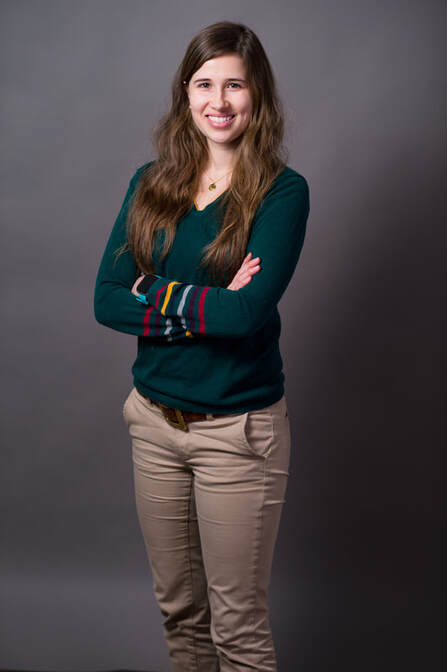
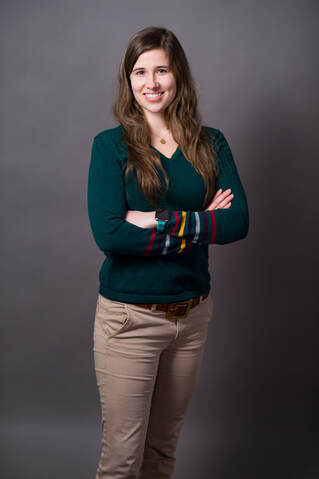
Turned 30-40 degrees left or right, body weight on the back leg, arms folded in front of chest.
Note that for folded arms shots, you should always aim to have a big smile. Avoid serious expressions or you can appear too intense or stand-offish.
Pose #3: (Best for Women):
Standing straight on towards camera, one leg crossed in front of the other, one hand on hips or arms folded.
Pose #4: (Best for Men):
Standing straight on towards camera, body weight between both feet, one or both hands in the pocket.
You can see a sample photo of this pose with a man here.
Pose #5: (Best for Women):
Hips turned about 70 degrees away from camera to either side, body weight on back leg with front foot pointing towards the camera. Front hand on the hip.
Pose #6: (Men or Women):
Leaning against a wall, one foot up against the wall, with one hand or both hands in the pockets. We don't have a reference photo for this, but if you visit this link you can see an example.
How to Pose for Photos: 8 Simple Tips
Tip #1 of 8: "Turtle, don't Tuck!"
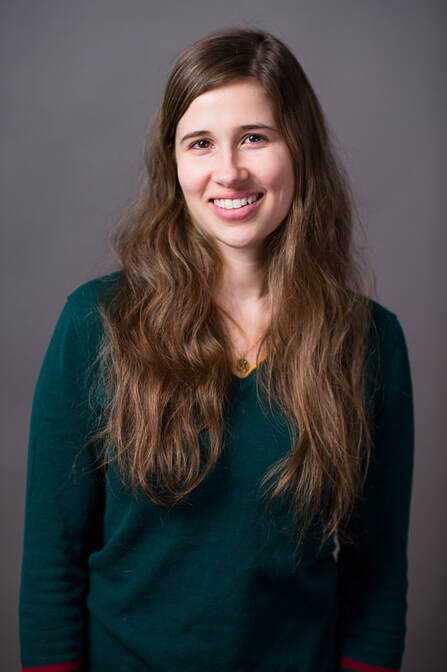
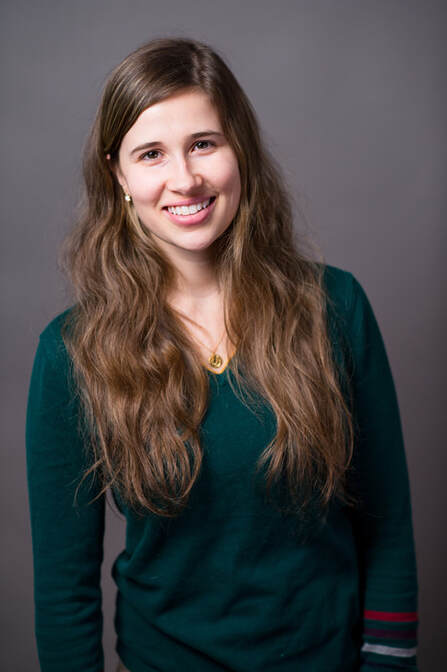
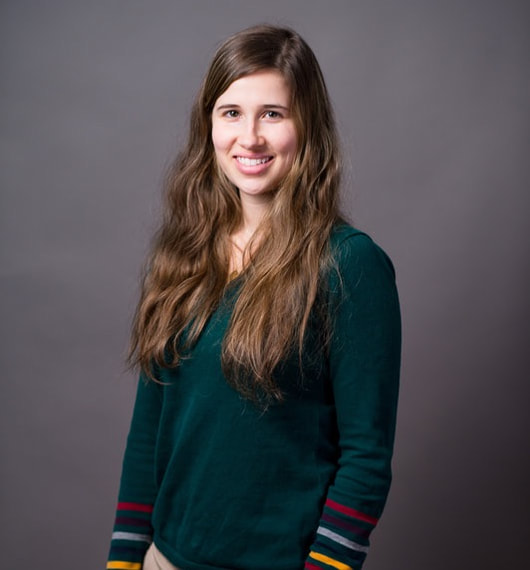
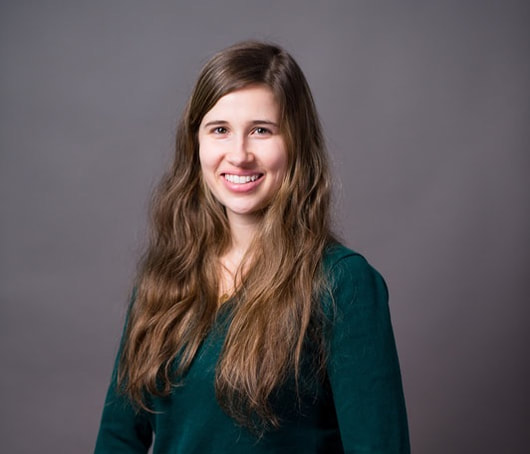
When we're in front of the camera, it can be easy to want to lean away from it, but doing so makes most people get a double chin. Instead, it's much better to "do the turtle" as we call it, and push your forehead or ears towards the camera.
You just want to do this by about an inch – not much more or it will feel uncomfortable and look odd. Just do it very slightly, and this trick can help better define your jawline and slim your face and neck.
You just want to do this by about an inch – not much more or it will feel uncomfortable and look odd. Just do it very slightly, and this trick can help better define your jawline and slim your face and neck.
Tip #2 of 8: "Favor a Foot"
Yes, we're using alliteration for our titles. Hopefully that makes them easier to remember during shoots!
In general, it's best to stand on one foot or the other and avoid having your weight evenly spread on both feet. If you have trouble doing this, just pick one foot up completely off the ground and you'll notice how all your body weight shifts to the other foot. You can then lower your foot back to the ground and stay in that position.
In general, it's recommended that you almost always lean all your weight on the foot farthest from the camera. Doing this will elongate the body and it looks more natural than having the weight on the front foot.
Note that this doesn't apply to tightly-cropped headshots – in those photos you can place your weight on either the front or back foot, but often times front foot looks better for tightly cropped photos like headshots.
Tip #3 of 8: "Lean to the Light"
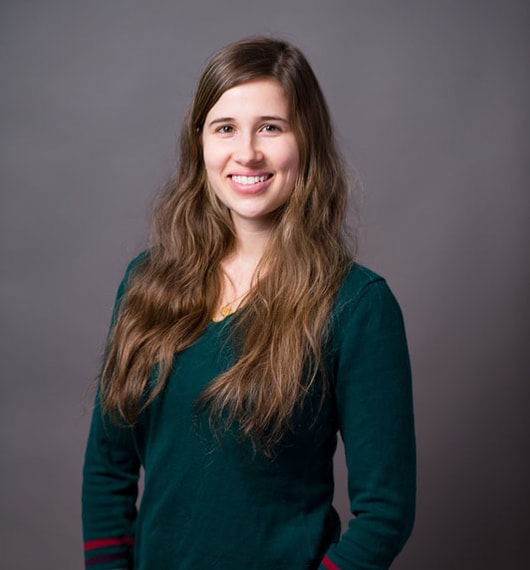
Keep your upper back straight, and then lean in at your hips just a bit towards wherever the brightest light is (unless the brightest light is behind you, in which case you can just lean directly towards the camera). By leaning ever so slightly, it helps thin out the body and remove double chins even more.
Again, just be sure that you're keeping your back straight and leaning at the hips, otherwise you'll appear hunched.
Related: Headshot Lighting: The Ultimate Guide
Again, just be sure that you're keeping your back straight and leaning at the hips, otherwise you'll appear hunched.
Related: Headshot Lighting: The Ultimate Guide
Tip #4 of 8: "Wind the Waist"
By wind the waist, we mean twist the waist a bit. This tip is especially helpful for women who want to create more of an hourglass shape. If you turn your hips to about 90 degrees to either side of the camera and then rotate your shoulders back so you're facing towards the camera, it will thin out the waist significantly.
Tip #5 of 8: "Lengthen the Limbs"
Try to keep your arms and legs from pressing against other parts of your body too much. The more they press against your body (or against other limbs), the more likely your arms and legs will look wider and shorter than they are. This especially applies if you're wearing short sleeves or a light-colored shirt.
If your arms are folded across your chest, be sure to give just a bit of space or "breathing room" so they don't get pressed down and look bigger than they are. Similarly, when it comes to your legs, if they're crossed, try to give a bit of space so they're not mashed against each other.
If your arms are folded across your chest, be sure to give just a bit of space or "breathing room" so they don't get pressed down and look bigger than they are. Similarly, when it comes to your legs, if they're crossed, try to give a bit of space so they're not mashed against each other.
Tip #6 of 8: "Stand Straight"
No matter how tall or short you are, everyone looks good when they have good posture, so you need to try to stand as tall as you comfortably can when having pictures taken.
Imagine taking the top of your head and lifting it as high as you can (without standing on tippy toes!). Then take your chest and puff it out (without taking a deep breath) and pull your shoulders back and down. It might feel difficult to stand so tall but your photographer should be able to snap the shot quickly so you can relax. The straighter and taller you stand, the more flattering the pose will be.
Imagine taking the top of your head and lifting it as high as you can (without standing on tippy toes!). Then take your chest and puff it out (without taking a deep breath) and pull your shoulders back and down. It might feel difficult to stand so tall but your photographer should be able to snap the shot quickly so you can relax. The straighter and taller you stand, the more flattering the pose will be.
Tip #7 of 8: "Hide the Hands"
While technically you don't need to actually hide your hands, it's good to keep in mind that you don't want your hands to draw extra attention to themselves. If your hands are at an angle to the camera where you can only see the edges of them, that's good because the eye won't be drawn to them. Alternatively, you can put your hands in your pockets.
And if your hands are going to be turned in such a direction that you'll see the front or back, just be sure to bring your fingers closer together so they aren't spread out wide, drawing the eye.
The general idea here is to hide as much of your hands as you can as long as the way you're standing still looks natural.
Tip #8 of 8: "Clothing is Critical"
Even though this is technically not part of posing, we needed to mention it.
You need to wear clothes that are well-fitted. If they're too tight or too loose, no amount of posing work is going to help you look good on camera. Overly-tight clothes just look awkward on camera, and overly baggy clothes will make you look larger than you are.
Read our complete guide on what to wear on camera.
Common Posing Mistakes to Avoid
Now that you know our top 8 tips on how to pose for photos, it can be beneficial to make yourself aware of some common posing mistakes people make:
- Sausage fingers. We had to put this one first because "sausage fingers" just sounds funny. You should avoid clasping your fingers together where they interlock. If you're going to have your hands together for any reason in a photo, it's generally better to have one hand over the other instead of interlocking the fingers. This enables you to "hide the hands" as we described in tip 7 earlier.
- Both hands on hips. Hands on both hips rarely works the way you'd think it would. Unless you're wearing perfectly form-fitting clothing, having both hands on the hips at the same time can just make you look a lot wider than you really are. As an alternative, you can have one hand on your hip, or you can put both hands in your back pockets. And in worse-case scenario, if you absolutely must do hands on hips, we recommend pulling your elbows back a bit, which will thin you out if you start looking too boxy.
- Just randomly moving around with no plan. Some photographers will just say "Move!" or "Do your thing!" but do you really know what that means? It's a bit awkward and not specific, and what if your "thing" happens to look bad on camera? That's why instead, we recommend just changing your posture up into something totally different, that still feels comfortable. In general, most normal poses you'd unconsciously move into in real life look good on camera if you simply add some of the 8 tips we shared earlier to them. Just pretend you're waiting for someone and stand in the first few poses that come to mind.
- Facing the camera straight on. While this can work on rare occasion if the photo is taken close in (think headshot style), in general, and especially for women, it's almost always better to stand turned at an angle, about 30 degrees to either side (or more).
- Forgetting to breathe and nod. If you start feeling tense, take a breath and relax a bit. We find it helpful if the photographer has music playing, and you can bob your head slowly to it, which can keep you from tensing up too much. And if no music is playing, you can just bob your head to an imaginary song in your head!
Common Photo Issues & Quick Fixes
You're almost to the end of this massive guide on how to pose for photos! In this section, we'll cover a few quick fixes to common issues you might face when getting your picture taken:
- Double chin: The two quickest ways to fix this are to do the turtle (push your forehead towards the camera) or to lean in towards the camera a bit. Alternatively, you can ask the photographer to shoot you from a higher angle.
- Face looking too wide (or too narrow): This is best adjusted with lighting if the Turtle trick doesn't fix it. Lighting coming from a higher angle above you and directly behind/above the photographer can help thin the face. If you're finding your face to be too thin, it can be widened by adding more light from below, or having a light on one side or the other (as opposed to directly behind the photographer).
- Looking too old (or too young): If you want to look younger, smile more! Softer lighting can also help – this means the photographer should use a larger light source or take you outside to a place where light is soft, coming from all directions. Alternatively, if you want to look older, a more serious expression can help, as can harsher lighting coming from a smaller light source.
- Blinking or squinting: If you find yourself constantly blinking, ask the photographer to count to three so you know when the shot will be taken, and just make sure to keep your eyes open for that instant. And if that still doesn't work, or you're squinting too much, simply close your eyes until three, and then you can open them at the last moment to make sure they're not too squinty for the picture.
- Fake smiles, or stiff, uncomfortable expressions and body positions: The best way to get a good smile is to actually be in a good mood, so even if you don't like the photographer or aren't having fun taking photos, just try to think about something that makes you happy, like a good friend, your child, your partner, etc. Really think about what you love most about them, and then smile at the camera and it will look much more genuine. And as you think of things that make you happy, you'll find it easier to adjust your pose into what we discussed in this article so you look more relaxed.
-
Bad posture: The best way to fix this is to try to stand taller, but if you're physically unable to, you can instead turn your body straight on towards the camera and ask the photographer to shoot from a slightly lower angle. While technically facing the camera head on is not considered good, it can actually hide poor posture which overall can improve the picture. For certain people, facing directly towards the camera can look great!
- Related: How to Correct Your Posture
- Eyes not looking directly towards the camera: If you have strabismus or a lazy eye and find it difficult to get both eyes looking at the camera at the same time, let your photographer know. Then, simply look away between shots and then look back at the camera. In general, your eyes will often shift, even if just for a moment, so they're both looking at the camera, and the photographer can quickly grab the shot.
- Blemishes or darkness under the eyes: This is usually something that can be fixed with makeup or retouching, so you don't need to worry about it too much. However, softer lighting can also help, so shooting outdoors or with the photographer using a much larger light source is something to consider.
- Flat hair: A quick fix for flat hair is to flip it over. Lean your head upside-down, flip your hair over so it's hanging, and then run your hands through it quickly to add some body. Then stand up and flip it back over, and you'll notice it's much fuller-looking. You may have to do this a few times throughout your shoot if the photographer doesn't have a blow dryer. We have a full makeup & hair guide here.
Wrapping Up:
Psychology and Expression
Now that you know how to pose for photos, we're going to wrap up by just covering some simple psychology points because they're very important. Having your photo taken can be a bit nerve wracking, so you should keep the following in mind before you go into any shoot:
Finally, if you want to dive deeper on posing, we recommend checking out this video guide:
-
No pose is worth anything without a good expression. You could have the best pose in the world but if your smile is super fake or weird-looking, people will always think there's something off with the shot. While expressions are beyond the scope of this article, a great way to get a genuine smile is just to laugh (fake laughing is fine!). A great way to get a more serious shot is to close your eyes, relax your face for a moment, and then open your eyes and look at the camera with a very tiny hint of a smile on your face (with lips closed).
- Related: How to Look Confident on Camera
- You're going to feel weird, and you have to be OK with that. It can feel really awkward having your picture taken, especially if you're the type of person who doesn't like all the attention focused on you. But you know what? The attention IS on you, so for a few minutes (or however long your shoot is), you should pretend to be someone who enjoys photoshoots. Just pretend you're an actor or a model having professional photos taken, and your job is to play along with the photographer and do your best to enjoy it. The more fun you have, the better your expressions will look and the more usable photos you'll get. Plus the photographer will feel good too because they'll see you're enjoying working with them.
-
Plan to look worse before you look great. The beginning of any shoot is always going to feel weird. Depending on your photographer's skill level, they may or may not be able to take a super flattering shot of you at the beginning of the session. If you look at your first few test shots and don't like them, don't get discouraged because chances are high that the photos will look better and better as the session progresses. If you start to get down on yourself right away, it can be really hard to recover.
- Related: How to Prepare for a Photoshoot
- YOU care about how you look more than anyone else does. At the end of the day, people are looking at your photo and not judging you the same way you're judging yourself. They're NOT saying, "Oh wow, they have too many lines on their forehead," or "Oh I can't work with that person because they have darkness under their eyes." What others care about most is your expression and general body position (your pose). As long as you look confident and relaxed on camera, the other details can be either adjusted in Photoshop, or even left alone. Keep in mind that you're probably the only one who will notice or think about them. Finally, remember that imperfections on the face = experience.
Finally, if you want to dive deeper on posing, we recommend checking out this video guide:
Further Reading
We hope this article has been helpful for you!
If you want to dive deeper and look even better on camera, here are a few related articles you should consider checking out:
If you want to dive deeper and look even better on camera, here are a few related articles you should consider checking out:
Comments are closed.

