|
We're excited to have the opportunity to take your new headshots! In this guide we'll outline what you can expect and how to prepare. First, here are 5 CRITICAL things to know:
Please scroll down and read this article in full to learn how to set up properly!
|
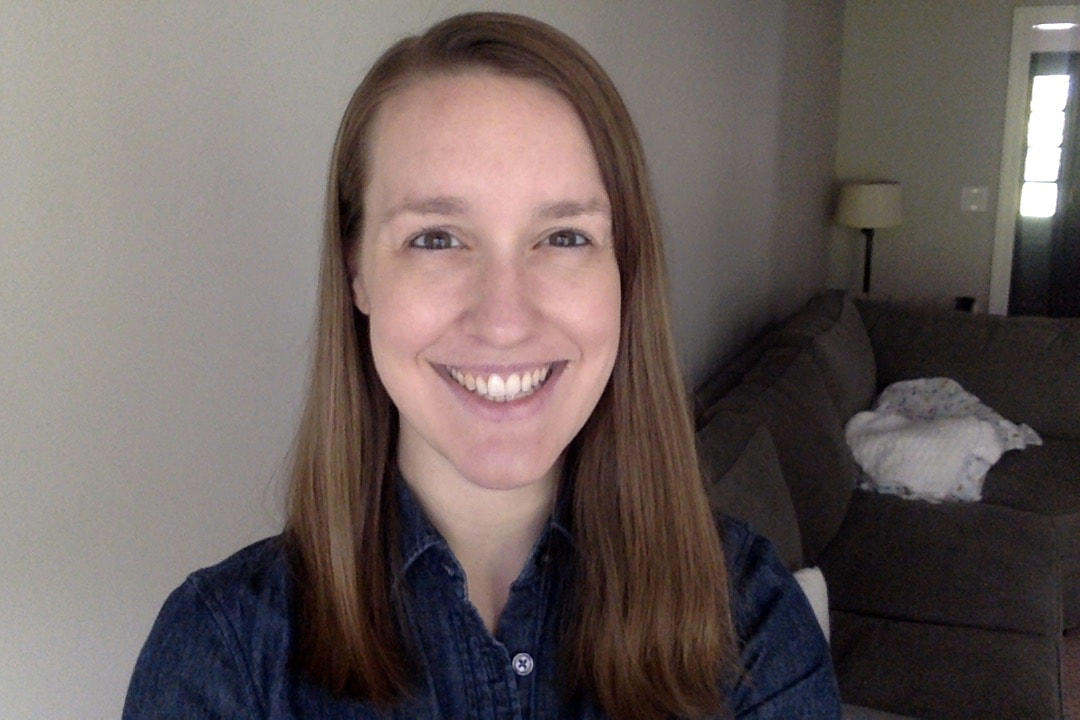 | 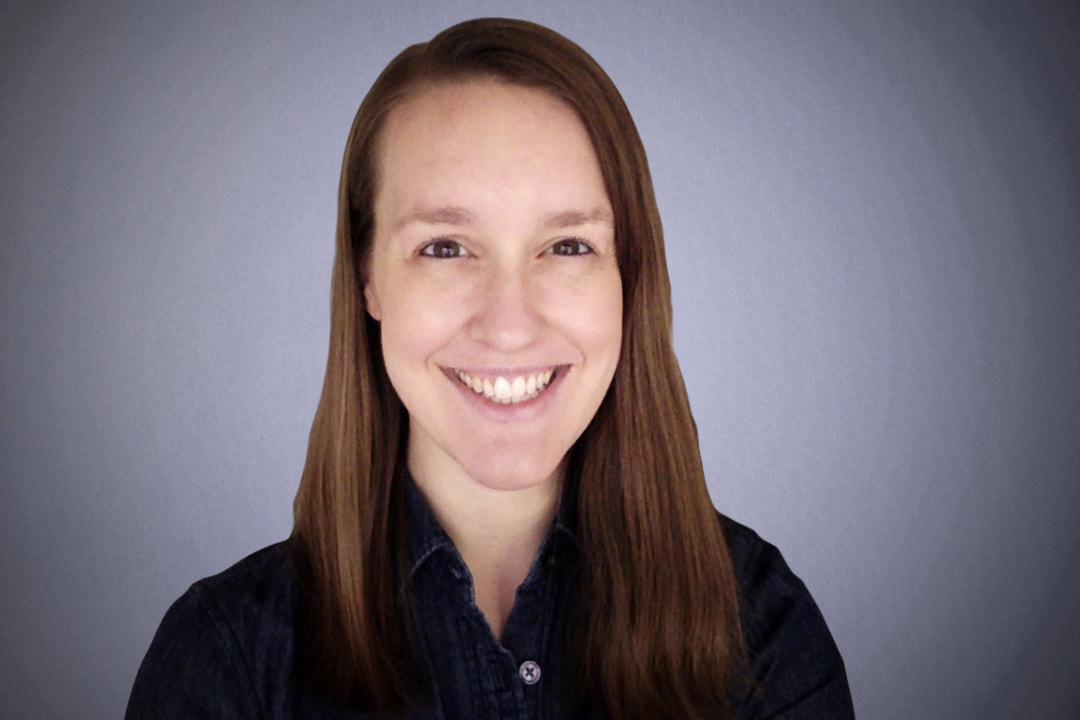 | 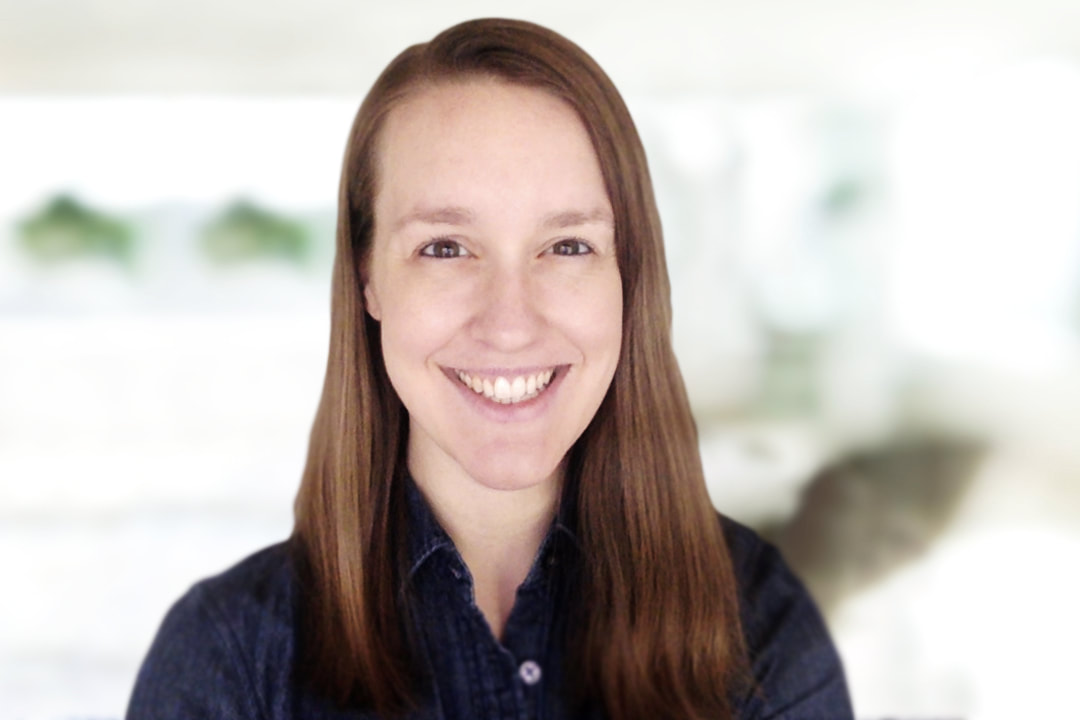 |
Things to Consider
Make sure to already be wearing what you plan to wear for your photos. Here is a great guide on what colors and clothing work best for headshots.
Backdrop You Want:
If you're with a company, they will already have a backdrop determined, so you can ignore this.
Otherwise, here's a link to see the different backdrops we offer. If you need something very specific that's not listed on that page, please email us at [email protected] beforehand so we're aware. If you're not sure of which backdrop will work best for you, we can discuss that together during the shoot.
Retouch Submission Link:
After your shoot, you'll need to use this page to submit your image for retouching. Please keep this link in a safe place:
https://www.cityheadshots.com/virtual-retouch-request.html
How to Set Up Properly
Technical Setup:
Please be sure your phone has the required app installed ahead of time so we can take your photos:
- Install the Shutter App onto your phone. Open the app to be sure it loads, and you should see a 9-digit code displayed. You can close out of the app until the date of your shoot.
- Scroll down on this page and complete the "physical setup" steps. You need to be positioned properly before the shoot begins, otherwise we may not have enough time and will have to reschedule your shoot.
- At the start of your shoot, your photographer will call you at the phone number provided to request your 9-digit app code. The 9-digit code appears on the home screen of the app when opened (see the image below), so all you'll need to do is let the photographer know what your code is, and they'll be able to begin the shoot.
- Grant Shutter App access to your camera and microphone. You'll need to click "OK" when prompted so that the photographer can control your camera remotely. We'll be taking your high-res photos directly through your phone and the photographer will help you with the exact positioning once the session begins.
- After the shoot, you can delete/uninstall the app. You won't need it anymore, and it doesn't save your data, so you can feel free to simply remove the app from your phone.
If you have trouble with any of these steps, feel free to email us at [email protected] and we'll help you out. We have included some screenshots below to reference while setting up your app.
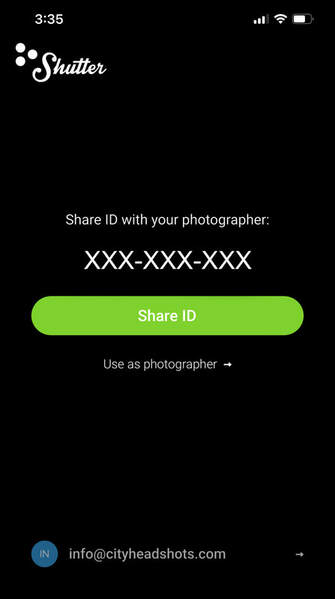 Send your photographer the 9 digit code displayed on this page. | 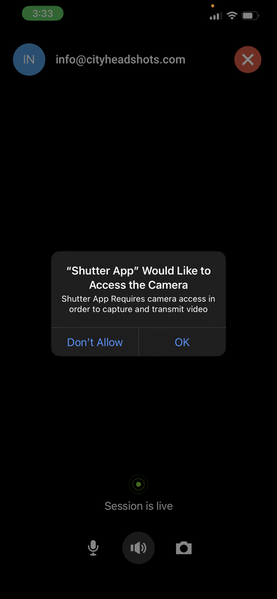 Click "OK" when prompted for access to the camera. | 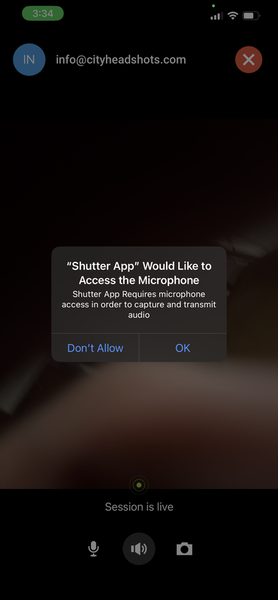 Click "OK" when prompted for access to the microphone. |
Physical Setup #1 - The Classic Virtual Headshot
Shooting By Yourself
The Physical Setup:
- Find a table and chair and position them in front of a bright window. Make sure the window will not have direct sunlight shining on you, and lower your chair to the lowest setting possible (if it can go up and down).
- Find some books and pile them up (or you can use a box, tripod, etc.). Stand your phone on top of them so it is about eye level or 1-2 inches above. You can see some example images below of different usable setups.
- If you have a friend to assist, scroll down to see other options. You won't need to worry about using books or standing up your phone since someone will be holding your phone for you during the shoot.
When setting up, be sure that the window is behind your phone, NOT behind you.
IMPORTANT: If you're needing a half body shot (or something further out), we recommend having a friend assist so you can be standing (instead of sitting) during the shoot. See Option 2 below.
After the shoot is finished, you'll use this page to send your photo to us to retouch!
Physical Setup #2 - More Variety
Shooting with a Friend
Positioning:
- Position yourself facing towards a bright window, about 6 feet away. Make sure the window does not have direct sunlight shining on you.
- Your friend should be standing with his/her back to the window, holding your smartphone. Make sure the smartphone is about 2-3 inches above your eye height.
- The photographer will guide you the rest of the way!
After the shoot is finished, you'll use this page to send your photo to us to retouch!
Hello -
I took a picture against a wall. I just need the background changed and the picture sharpened up. Can i do that instead of the virtual headshot?
Yes, we can definitely do that! We can retouch the picture if you email it to us. Please email me at [email protected] with the photo so I can check it and then I'll send you the details/pricing info.
Thanks!
Hi . I am in Sydney Australia . We are in lockdown now and for another 4 weeks . We have already been in lockdown for 5 months . Curious - any way I can do a temporary acting headshot through your zoom? I wanted just one basic one . But I wanted it to include my upper body . I have pic examples . I didn’t wait just to be my face. Can you help with this ?
Hey Jena, we can! But you would need to have someone available to assist. Do you live with anyone or see anyone? If so, we can set up a virtual shoot with you and guide you both through the process! Please email us at [email protected].